
The Voice in your Community

Karen’s Cake Corner
by Karen Hill
December 7th 2020, Issue 102
Panettone Christmas Pudding Cake
Every Christmas I make at least three cakes. My traditional christmas cake, an alternative sponge layer cake, and my Panettone Christmas Pudding Cake. I always buy a large Panettone and use the left overs for a lighter version of christmas pudding and a Panettone version of bread and butter pudding.
I have a large family and spend a great deal of Christmas cooking, so this cake is fantastic as no cooking is required!
You will need -
1 Panettone Cake
6 tbsp Brandy
1 tsp vanilla extract
2 large free range eggs
75g caster sugar
500g mascarpone
250 ml double cream
125 ml Marsala
75g glaces cherries
125g dark chocolate chips
100g pistachios, chopped
2 tbsp pomegranate seeds
To begin with you will need a 23cm springform cake tin. Cut your panettone, about 625g, into 1 cm slices. Use about a third of these to line the bottom of your tin, tearing off pieces to fit and making sure there are no gaps.
Mix your brandy with the vanilla essence and drizzle 2 tbsp over the panettone layer.
Next you will need to make the filling. Whisk together the eggs and sugar until pale and frothy.
Gently whisk in the mascarpone and double cream, then gradually whisk in the Marsala. Keep whisking until the mixture is thick. Remove 250 ml, cover and put in the fridge - this is for the topping and is not needed until the cake is served.
Into the remainder of the cream mixture, add the glace cherries, 100g of chocolate chips and 75g of the chopped pistachios and fold in. Use half of the cream to cover the panettone layer in your cake tin. Use another third of the panettone slices to cover the cream, once again making sure there are no gaps. Drizzle over another 2 tbsp of your brandy and vanilla. Spoon over the remainder of your cream and spread evenly. Top with your final layer of panettone and drizzle the remaining brandy mixture. Cover tightly with cling film and place in your fridge overnight.
When you are ready to serve, unmould your cake and place on a serving plate or cake stand. Spread over your reserved cream mixture. Then finally, scatter the remaining chocolate chips and pistachios all over the cake, along with the pomegranate seeds.
This cake is rich, but still quite light. It will last a couple of days in the fridge, but we rarely get any leftovers! Happy Christmas.
October 28th 2020, Issue 102
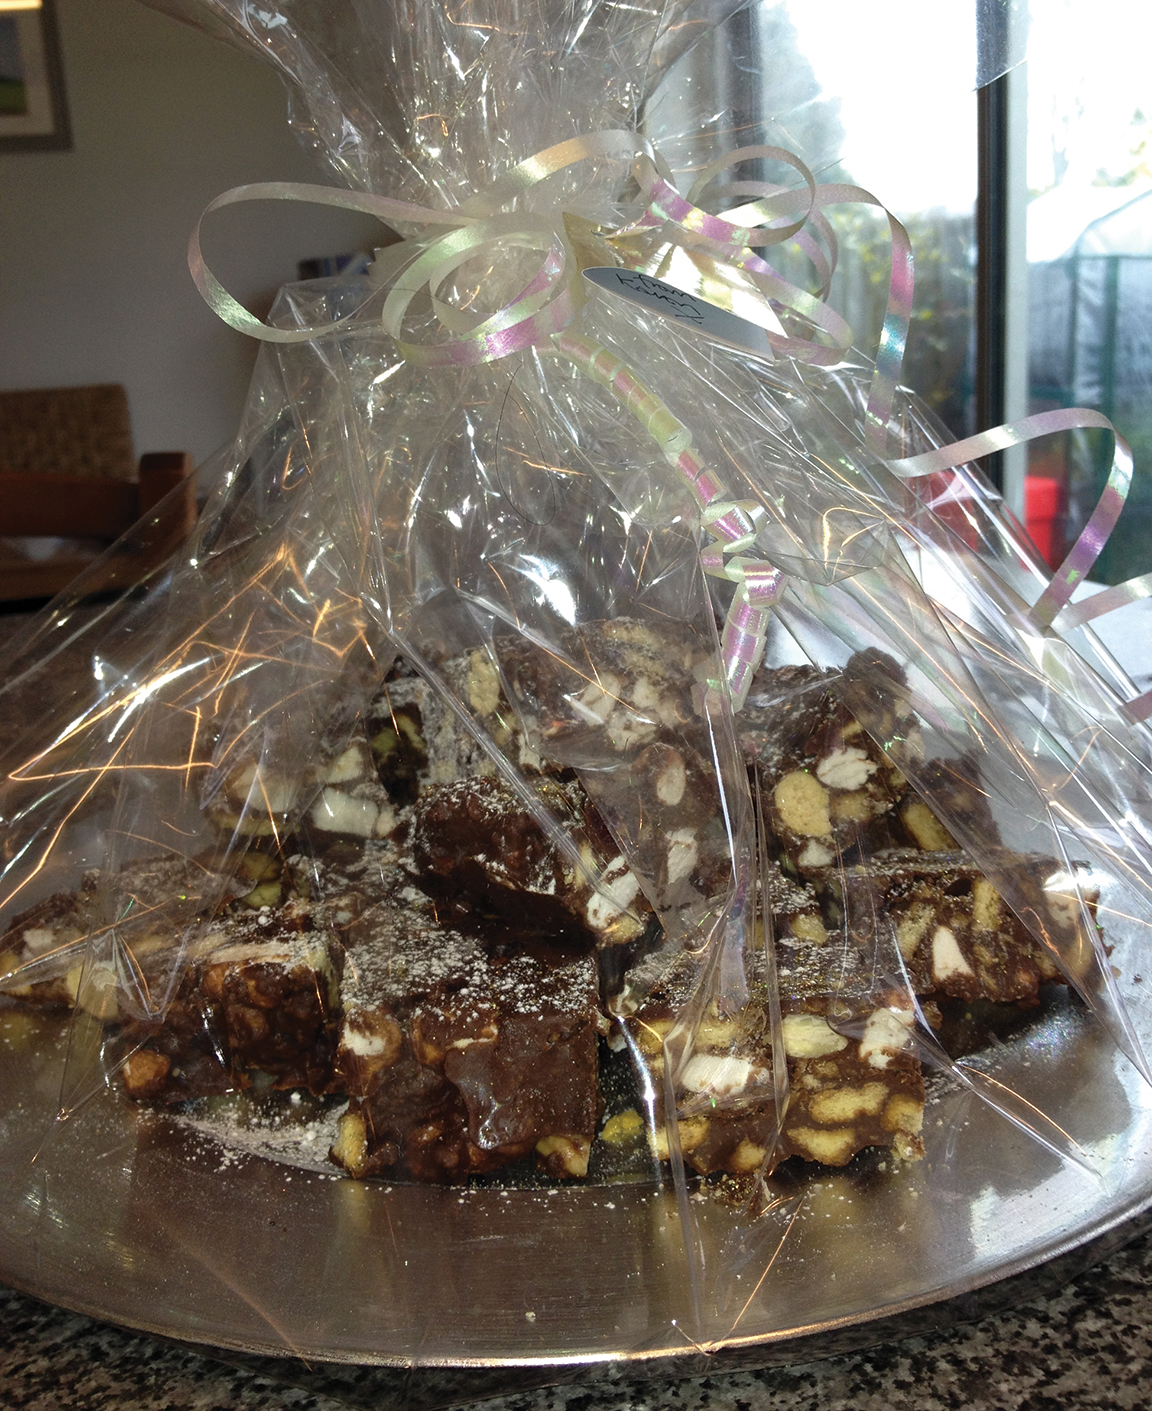
Rocky Road
I was recently invited to a friend’s birthday party. She has two children and really wanted me to bake a cake. I know myself that I have to be in the mood for baking, or my cakes just do not seem to be the same. I have to admit that I really did not feel like making a cake, so I decided on Rocky Road. They are always so delicious and children absolutely love them, and so quick and easy to make. Best of all no baking!! I just was not in the mood.
Ingredients: Makes 24 bars
250g dark chocolate
150g milk chocolate
175g butter
4 tbsp golden syrup
200g crushed Rich Tea biscuits
150g red glace cherries
150g brazil nuts
125g mini marshmallows
1 bag maltesers
1 crunchie crushed
Icing sugar to decorate (I also used edible glitter)
Break up the chocolate and put into a heavy based pan along with the butter and syrup, and melt over a gentle heat. When melted add the crushed biscuits, broken nuts, cherries , mini marshmallows, maltesers and crushed crunchie. Mix everything carefully, coating everything with the chocolate mixture.
Tip into a foil tray (236mm x 296mm), smoothing the top. It will look quite bumpy.
Refrigerate until firm enough to cut, which will take a couple of hours. Then turn the block of rocky road out of the foil ready to be cut. With the long side in front of you, cut into 6 slices down and 4 across, so you will have 24 squares.
Dust with icing sugar and optional edible glitter, and et voila just right for a party.
September 10th 2020, Issue 100
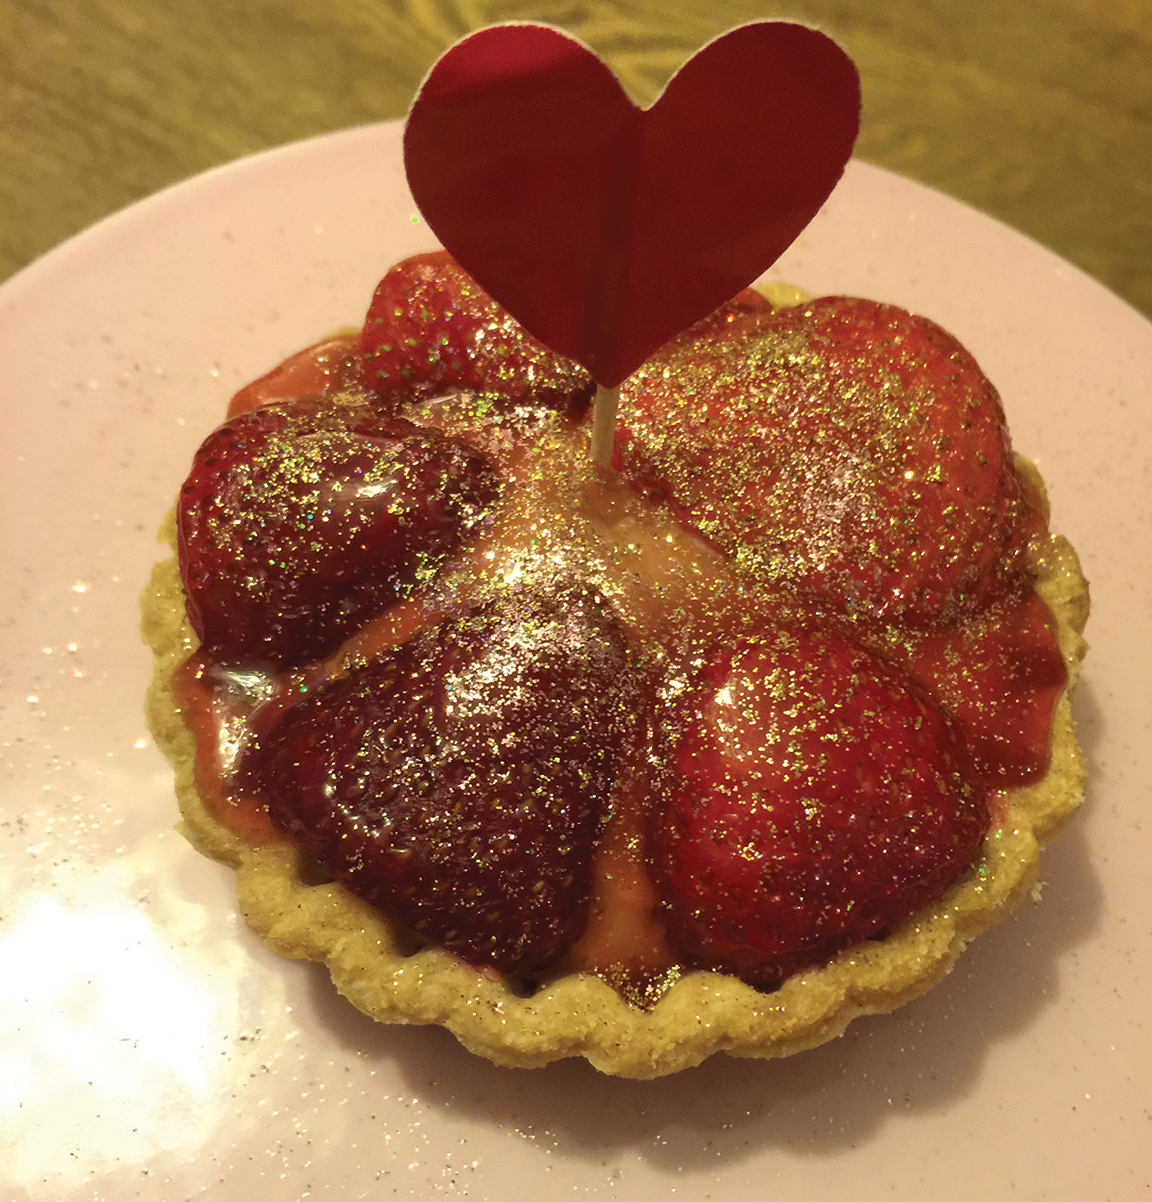
Strawberry Tarts
I recently cooked a special meal for my husband, so wanted to bake him his favourite dessert. I don’t often make pastry, but these are my husband’s favourite so I made an exception. With the combination of pastry, vanilla crème patisserie and strawberries, they are delicious and easy to make!
For the Sweet Pastry
225g plain flour
110g unsalted butter
80g sugar
1 free range egg, beaten
For the Creme Patisserie
2 free range eggs
30g caster sugar
1 tsps corn flour
15g plain flour
140 ml milk
Vanilla pod
Strawberries
Small amount of strawberry jam to glaze
Icing sugar to dust and edible glitter if required!
This recipe will make four tartlets. Firstly make your pastry. Rub the butter and flour together using your fingertips until it resembles bread crumbs. Add the beaten egg and sugar and bring together to form a ball of pastry. Wrap in cling film and chill for at least 15 mins.
Next make your Creme Patisserie. Whisk the egg yolks together with the sugar in a bowl until light and pale. Fold in the corn flour and plain flour. Bring the milk to the boil and then gradually whisk into the egg mixture. Pour the mixture into a clean pan and slowly bring it to the boil stirring until it thickens. Simmer for a minute and then take the pan off the heat. Split the vanilla pod in half lengthways and scrape out the seeds, adding them to the mixture. Cover with cling film and allow to cool.
Preheat the oven to 170˚C. Now it is time to roll out the pastry to approximately 4mm thick. Carefully line the four tartlet tins, leaving an over hang of pastry. Place on a baking tray and chill for about 15 minutes. Blind bake the pastry cases for ten minutes and then turn down your oven to 160˚C. Remove the baking beans and prick the pastry with a fork and cook for a further 10 minutes. Then egg wash the tarts and cook for a further 5 minutes. Remove from the oven and allow the pastry to cool.
With a small serrated knife, trim the excess pastry from the tins, being very careful. Now you can fill your tartlets with your cooled crème patisserie. This can be piped into your tartlets. Slice your strawberries in half and arrange on top of the crème patisserie. To get that lovely shiny glaze, simply melt a little strawberry jam with a splash of water and then brush the top of your tartlet. Dust with icing sugar and a little edible glitter if required. I hope you enjoy these as much as my husband does.
July 30th 2020, Issue 99
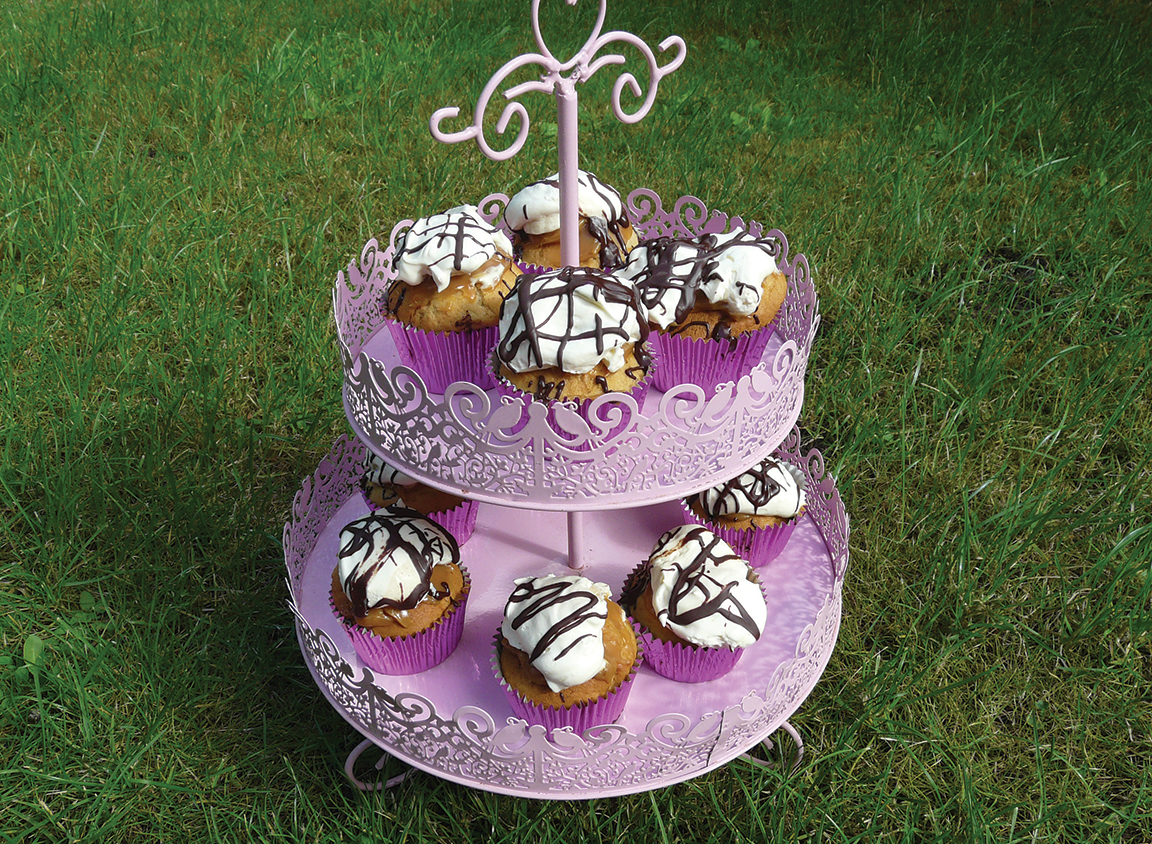
Banoffee Cupcakes
Finally, the sun has been making an appearance this summer. We love to sit in the garden and eat al fresco, but there has been very little opportunity so far this year.
So I promised myself, the next sunny day when all the family are visiting, I would make my daughters favourite, Banoffee Cupcakes. A combination of her love for cupcakes and my Banoffee pies. They are very quick and simple to make, and I always keep a jar of dulche de leche in the cupboard for such an occasion. Dulche de leche is a delicious caramel like sauce. Look in the baking section of good supermarkets.
Cake
125g unsalted butter
125g caster sugar
3 eggs
3 tbsp milk
250g self raising flour
1 tsp baking powder
1 tsp ground cinnamon
3 ripe mashed bananas
Topping
1 jar dulche de leche
300ml double/whipping cream
50g dark chocolate
Preheat your oven to 170˚C fan/ 190˚C and arrange approx. 16 muffin cases in 2 muffin tins.
Cream together the sugar and butter until pale and fluffy. Gradually mix in the eggs, one at a time, then add the milk. Next add the flour, baking powder and ground cinnamon. Finally add the mashed bananas. Divide the mixture into the muffin cases. I usually make about 16, filling the cases two thirds full. Place in the oven, and bake for approximately 25 minutes until risen and golden. Leave to cool.
When the cupcakes are completely cool, spoon a good heaped teaspoon of dulche de leche over the top of each cake. I sometimes use Marks & Spencer’s “Salted Caramel Sauce”, which is delicious. Next whip the double cream and cover the cakes with a large spoonful. Finally, I melt the chocolate in the microwave for approximately 1 min 40 secs. Using a teaspoon, drizzle the chocolate over the top of the cream.
I hope you love these as much as my daughter Daisy does.
June 8th 2020
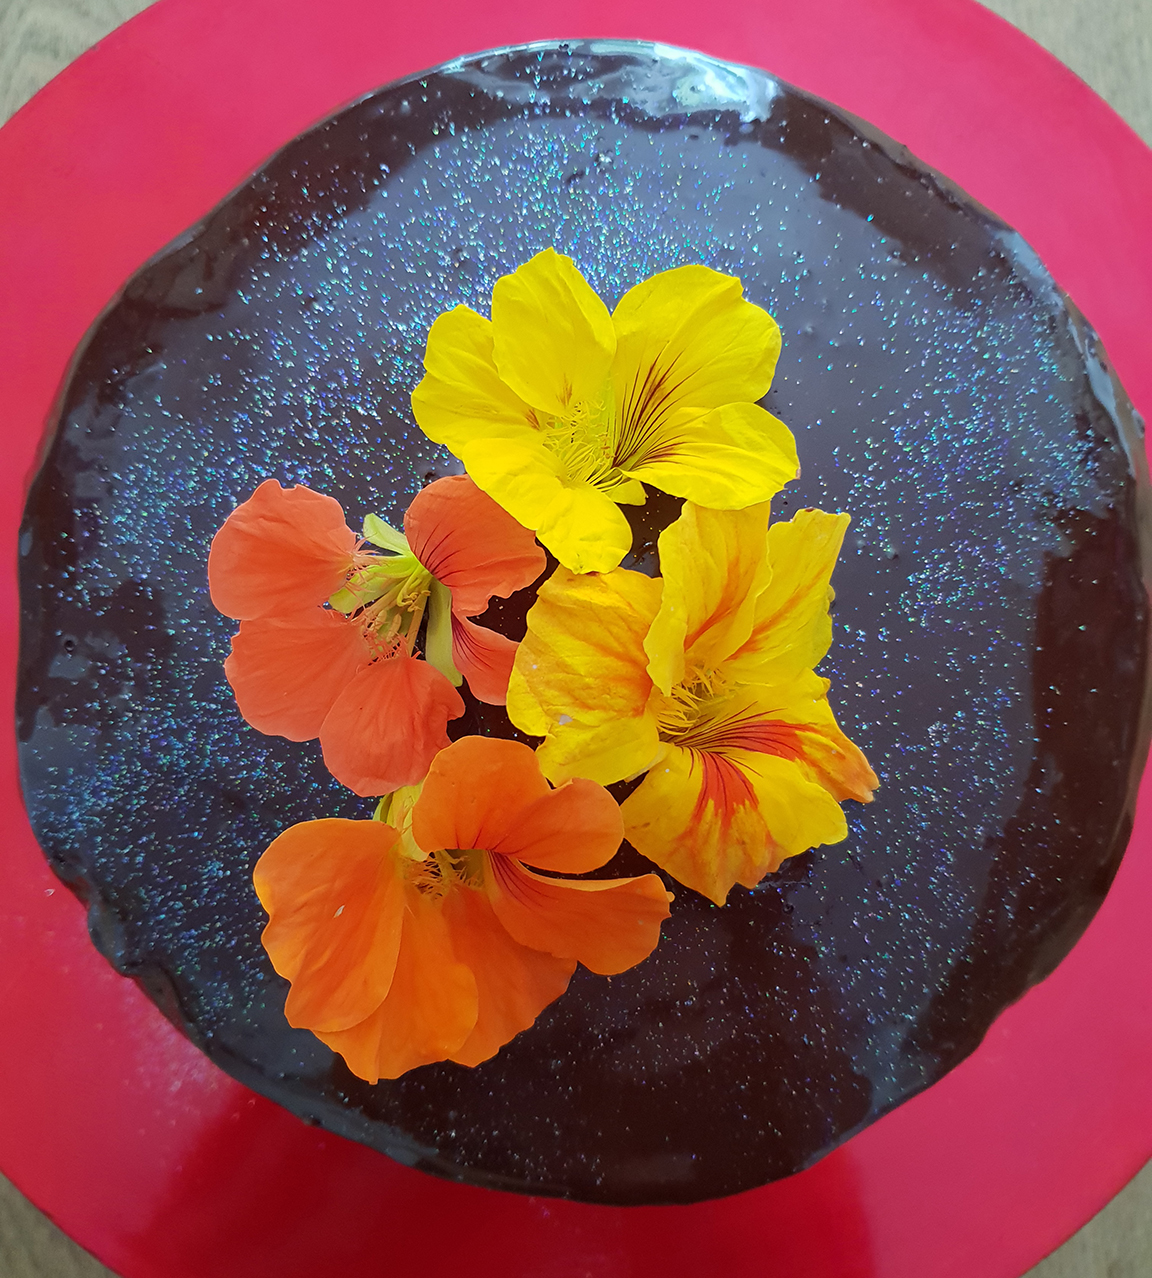
Chocolate and Passion Fruit Cake
I am always thinking of new ideas for cakes when we have a big family get together. I always try to come up with something new to surprise everyone. My Chocolate and Passion fruit cake came about as a natural progression from my Chocolate and Jaffa Orange cake. It is a bit of an effort to make, but very delicious.
You will need 3 x 20cm sandwich tins
For your passion fruit curd
1 large free range egg
2 egg yolks
250 ml passion fruit puree (I used Le Fruit de Monin - used for fruit smoothies/cocktails)
100g caster sugar
25g cornflour
Chocolate cake
130g unsalted butter
225g light brown sugar
75g caster sugar
3 large free range eggs
200g plain flour
50g good quality cocoa powder
one and a half tsp of baking powder
half a tsp sea salt
75ml strong coffee
75ml milk
Passion fruit syrup
50 ml passion fruit syrup (as before)
100g caster sugar
50ml water
Chocolate Ganache
200g good quality dark chocolate (70 cocoa solids) finely chopped
200g milk chocolate
35g butter
225 ml double cream
Chocolate Glaze
130g good quality dark chocolate (70 cocoa solids) finely chopped
250 ml double cream
2 tbsp golden syrup
Firstly, you will need to make the passion fruit curd. Put the passion fruit puree in a small pan and simmer. Whisk the egg, the egg yolks, sugar and cornflour until smooth and pale.
Pour the passion fruit puree over the egg mixture, whisking to combine. Put the mixture back into the pan and bring to the boil, whisking all the time until the mixture has thickened.
Put the passion fruit curd into a bowl, covering with clingflim to prevent a skin forming. Chill until needed.
Heat your oven to 160˚ fan, and grease and line your three sandwich tins. Beat together your butter and sugars until light and fluffy. Add the eggs, a little at a time until fully combined. In a separate bowl, mix the flour, cocoa powder, baking powder and sea salt. In a jug, combine the coffee and milk. Mix the flour mixture into the egg mixture one third at a time, alternating with the coffee, until fully combined. Divide your mixture between your three cake tins and bake for approximately 30 mins or until the cake springs back when touched. Cool your cakes in the tin for 10 minutes before turning out onto a wire rack to cool completely.
While the cake is cooling, make your passion fruit syrup by putting your puree, sugar and water into a small pan and simmering until the sugar has dissolved.
Next make your ganache by putting the finely chopped dark and milk chocolate together with the butter into a bowl. Put the cream into a small pan and bring to a simmer. Pour this over the chocolate and stir until smooth. Leave to one side until thickened and spreadable.
You are now ready to assemble your cake. Place the bottom layer of cake onto a piece of baking paper and brush with the passion fruit syrup. Next spread half of the passion fruit curd and one third of the ganache. Repeat with the second layer. Sandwich the layers together and then for the final layer, brush with the remaining syrup and place syrup side down on top. Spread the remaining ganache over the top and sides of the cake and place in the fridge to set.
For your glaze, put the finely chopped chocolate in a bowl. Heat the cream and golden syrup in a small pan until simmering. Pour over the chocolate and mix until smooth. Leave until slightly thickened.
Put the cake onto a wire rack and pour the glaze over , allowing it to drip down the sides until it covers the entire cake. Allow the cake to set for a few minutes before transferring it onto a cake stand.
I decorated my cake with some edible flowers and glitter. The cake will keep for several days if kept in the fridge.
A new favourite with my family. Not my easiest cake to make, but well worth it when it makes my family happy!
May 11th 2020
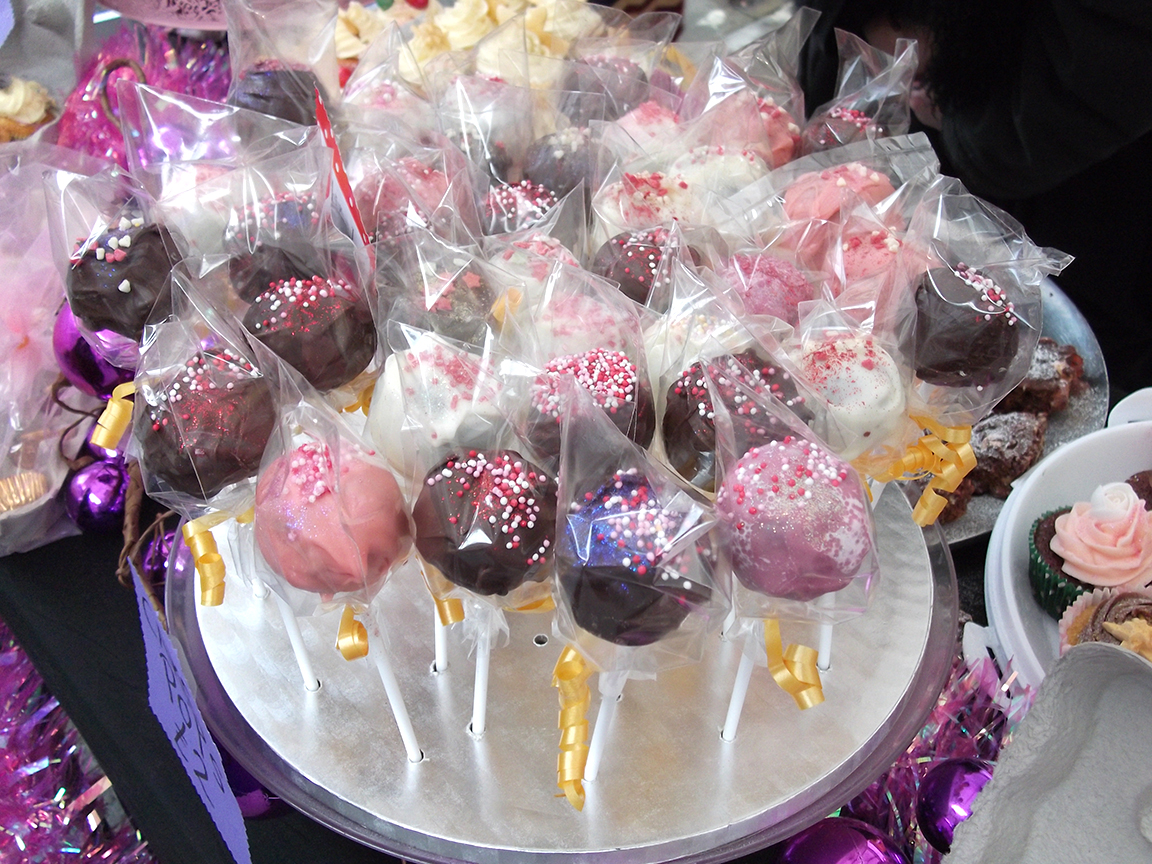
Firstly Happy New Year to everyone. Following on from my Chocolate Cake recipe, which I hope you enjoyed, I thought I would share my recipe for Cake Pops. I predict these will be very popular this year. They look delightful and taste just as good. My Cake Pops have proved to be enormously popular for friends, family and especially good for childrens birthday parties. They are also a great way of using up leftover cake!
Cake Pops (Makes 17-20 depending on size of balls)
Ingredients
1 Karens Chocolate Cake recipe, featured in the last issue (you can cheat and buy 1 moist chocolate cake)
1 tub Betty Crockers chocolate fudge icing
Decoration
Lollipop sticks
1 14oz/397g pack Wilton dark or white chocolate Candy Melts (you can use chocolate if desired but I find Candy Melts easier to work with)
Edible glitter, decorative sparkles, chopped nuts or coloured sugars
Styrofoam
1. Firstly, make your cake and allow to completely cool.
2. Crumble your cake (or shop-bought cake) into a large bowl. You can use any flavour cake you desire. Work the cake until it is entirely crumbled.
3. Mix the cake crumbs together with approx. two thirds of the fudge topping. The exact amount of topping required will depend upon the moistness of the cake. The mixture should be fairly moist to easily hold itself together when you shape it into a ball.
4. Roll the cake into balls roughly 2" in diameter and place on a baking sheet lined with greaseproof paper. You should have approx. 17-20. Place in the fridge to harden.
5. Whilst you are waiting for the cake balls to harden, melt the candy coating in a microwave according to pack instructions and stir until melted and smooth.
6. Remove cake balls from the fridge. Using the lollipop stick make a hole, dip the stick in the melted coating and place into the hole you have made. The coating will help hold the stick in the cake pop.
7. You can either dip the cake pops into the coating or I find it easier to smooth the coating onto the cake pop with a teaspoon. Then sprinkle with decoration of your choice. I use edible glitter, decorative sprinkles or coloured sugars. Stick the cake pops into Styrofoam to allow to set. You can place them onto a lined baking sheet, but they will have a flat top.
8. Once the coating or chocolate has set, they are now ready to eat. Enjoy!
These cake pops are really unique and taste delicious.
April 6th 2020
Chocolate Ganache Cake
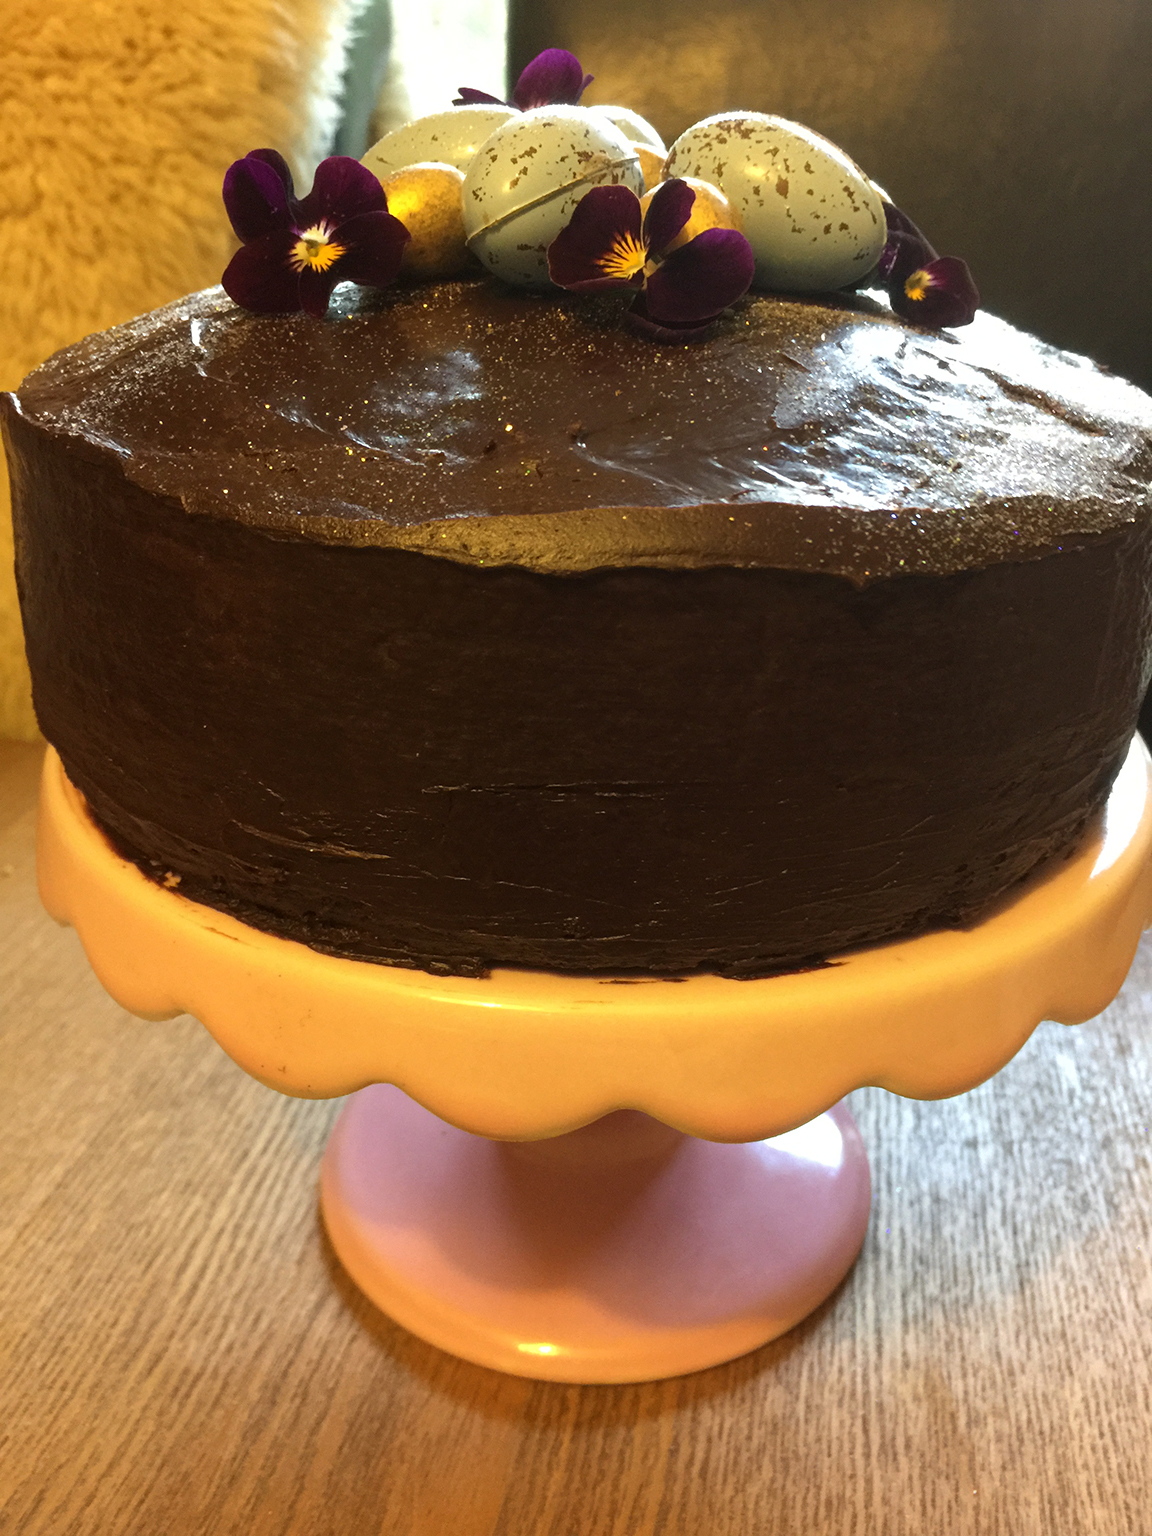
Easter is always a big family weekend for us. A great time for us all to get together and have an Easter feast. Every year I try and make a different chocolate cake, big pressure for me as it always needs to be delicious! This year I made a rich chocolate cake filled and covered with ganache, decorated with mini salted caramel filled eggs.
For your sponge you will need the following:-
170g good quality dark chocolate 70% cocoa solids
125g unsalted butter
6 large free range eggs
150g golden caster sugar
1 tsp vanilla extract
150g self raising flour
pinch of malden salt
For the ganache filling -
100g good quality dark chocolate 70% cocoa solids
100ml whipping cream
For the ganache frosting -
150g good quality dark chocolate 70% cocoa solids
150 ml whipping cream
Firstly grease and line a 20cm round deep cake tin, preheat your oven to 160˚C.
To make your sponge , melt the chocolate with the butter and leave to cool. Whisk the eggs, sugar and vanilla extract until very light and mousse like. Fold in the cooled chocolate mixture. Next sift the flour and salt onto the mixture and fold in. Pour batter into cake tin and bake for approx 1 hour until a skewer comes out clean. Cool the cake in the tin for 10 minutes then turn out onto a wire rack to cool completely.
Meanwhile, make the ganache filling. Finely chop the chocolate and place in bowl. Heat the cream and butter until hot, but not boiling, then pour over the chopped chocolate. Stir until smooth and glossy. Leave to cool and thicken slightly.
Split the cake in half and sandwich the layers together with the ganache. Make the ganache covering as per the filling and leave to thicken before using. Cover the top and sides with the ganache. Finally, decorate your cake with your mini Easter eggs, glitter or what ever you choose.
A very rich and indulgent cake, but perfect for Easter. Who needs an Easter egg!!